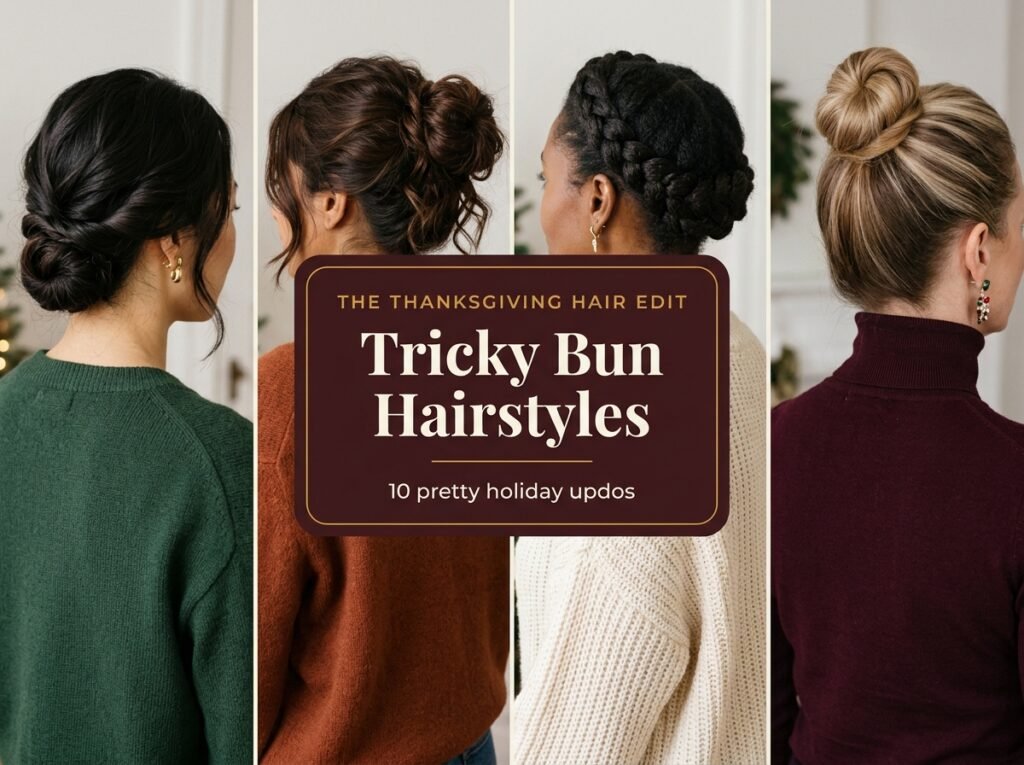
Thanksgiving morning can get busy fast. You want a pretty hairstyle, but you also have dinner to prepare, photos to take, and family to see. A tricky bun can give your hair a polished look without turning your bathroom into a salon. The secret lies in choosing a bun that suits your hair texture, length, and comfort level. You don’t need perfect styling skills or a drawer full of professional tools. A few pins, a reliable elastic, and the right technique can make a big difference. These Thanksgiving bun hairstyles for women range from soft, romantic updos to sleek, sculpted styles. You’ll find ideas for straight, wavy, curly, and coily hair, too. Pick a favorite, practice the shape once, and enjoy a hairstyle that feels special for the holiday.
What Actually Makes Tricky Bun Hairstyles Work?
A beautiful bun starts with a shape that suits your hair. Smooth hair creates a sleek finish, while textured hair adds natural fullness and grip. Neither needs to look perfectly uniform.First, choose a bun that works with your hair length. Use pins that match your hair color, and secure the base before shaping loose sections. A light styling cream helps control flyaways without making the hair stiff. Next, consider your Thanksgiving plans. A low bun feels comfortable at a long dinner, while a higher bun keeps hair away from your face. Comfort and hold matter as much as the finished look. Give your hairstyle a gentle head shake before you leave the mirror.
1. The Twisted Low Chignon
Want a dressy bun that still feels soft and comfortable through dinner?
The Formula:
-
Start with dry, detangled hair.
-
Work a small amount of smoothing cream through the lengths.
-
Create a center or soft side part.
-
Gather hair at the nape and twist it upward.
-
Coil the twist into a bun and secure it with U-pins.
-
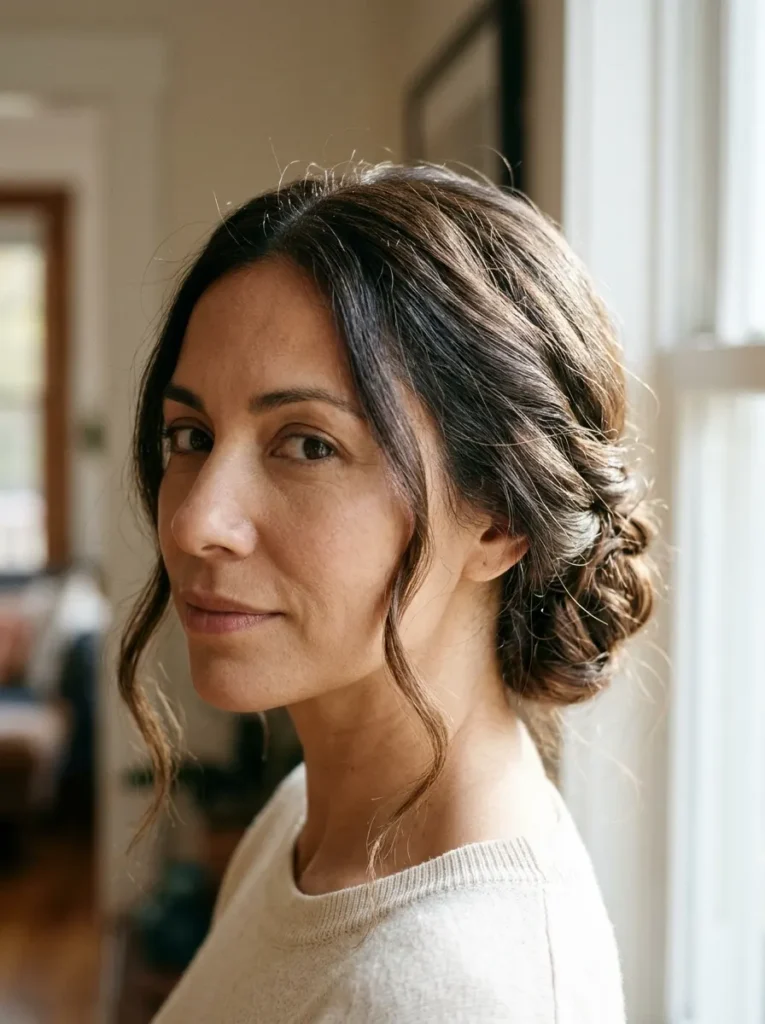
Why It Works: The twist creates a layered shape without requiring complicated braiding. Its low position feels balanced and works well with many face shapes. You can keep the surface smooth or leave a little natural texture.
Pro Tip: Cross two pins over the base in an X shape. This helps anchor the bun more securely than placing every pin in the same direction.
Best For: Medium to long straight, wavy, or relaxed curly hair. It suits Thanksgiving dinner, family portraits, and a dressy Friendsgiving gathering.
Make It Last: Finish with flexible-hold hairspray from a distance. Keep a few spare pins in your bag for quick touch-ups.
2. The Messy Textured Bun
Love a relaxed look that doesn’t require every strand to behave?
The Formula:
-
Apply a lightweight texturizing spray to dry hair.
-
Gather your hair into a mid-height ponytail.
-
Tease the ponytail gently at the roots if you want extra fullness.
-
Wrap the lengths loosely around the elastic.
-
Secure the bun with bobby pins.
-
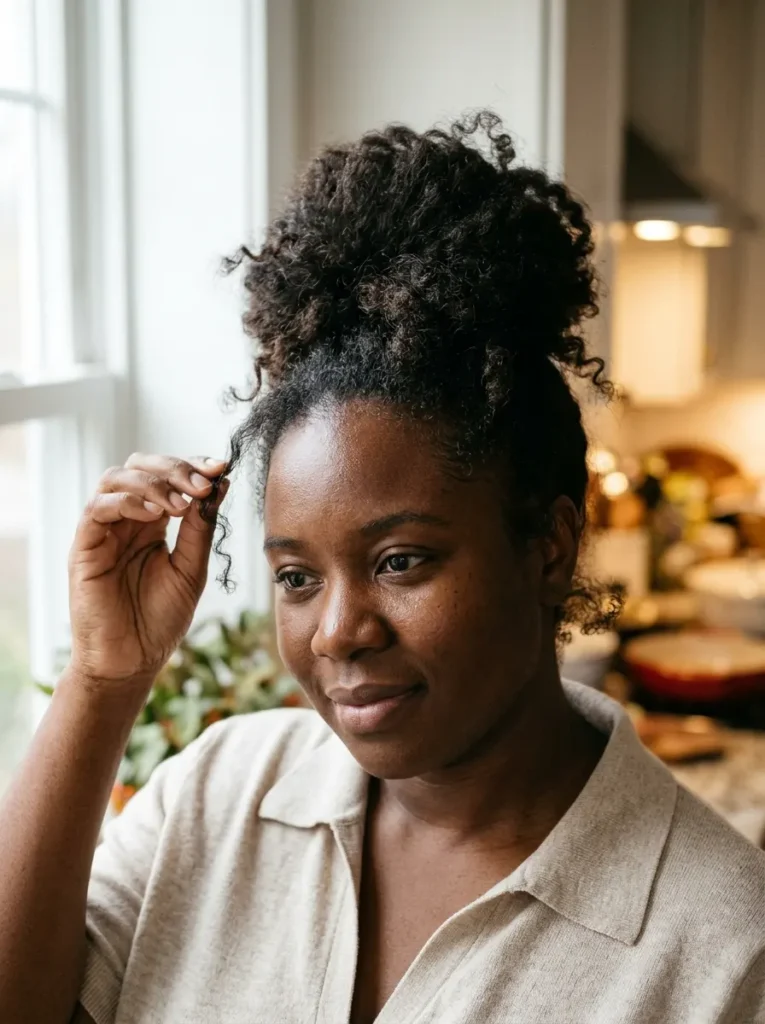
Why It Works: The uneven texture creates fullness and a casual finish. It also gives naturally wavy or curly hair room to show its character. The bun looks intentionally relaxed rather than overly polished.
Pro Tip: Pin the outer edges first, then secure the center. This helps the bun keep its shape without flattening the texture.
Best For: Medium to long wavy, curly, or thick hair. It works for a home-cooked Thanksgiving meal or a casual holiday gathering.
Make It Last: Use a light mist of flexible hairspray. Avoid heavy oils near the roots because they can loosen the style.
3. The Braided Crown Bun
Want a bun with one detail that makes people look twice?
The Formula:
-
Brush or gently stretch your hair to prepare it for braiding.
-
Part the hair and create one braid along each side.
-
Secure each braid with a small elastic.
-
Gather the remaining hair into a low ponytail.
-
Twist the ponytail into a compact bun.
-
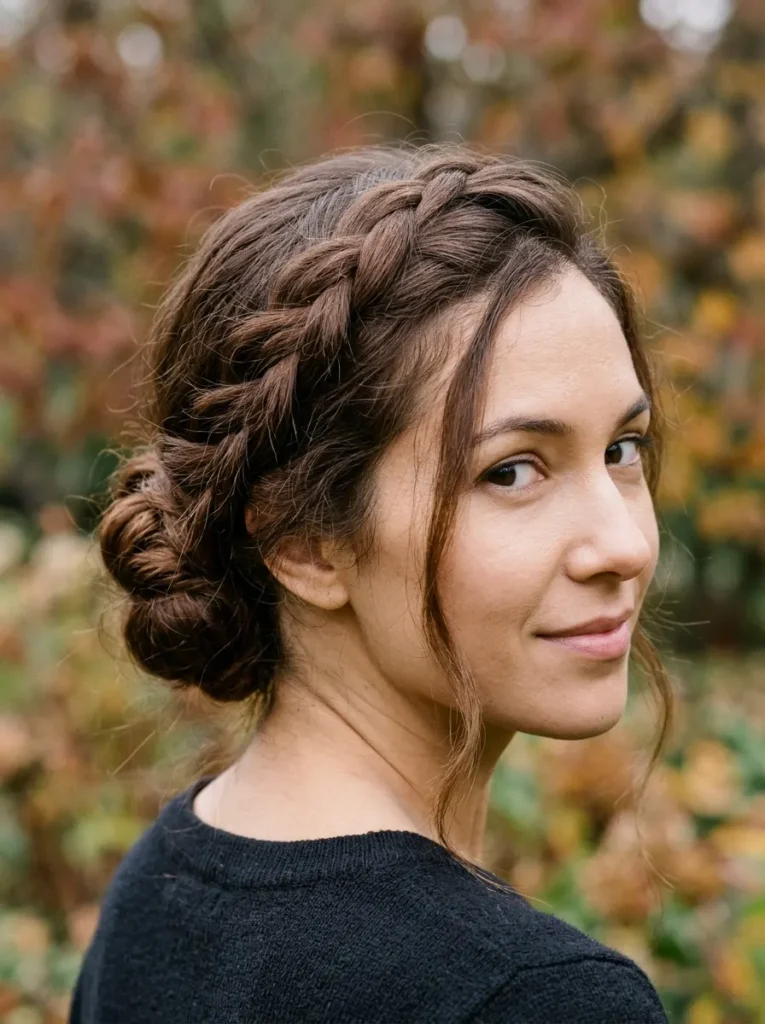
Why It Works: The braids add detail while the bun keeps the overall shape neat. This combination creates a romantic finish without extra accessories. You can also adapt the braid size to suit your hair density.
Pro Tip: Pancake each braid gently before wrapping it. Pull the braid edges outward a little to create a fuller, softer effect.
Best For: Medium to long straight, wavy, curly, or coily hair that can hold a braid. It suits holiday photos and more formal family dinners.
Make It Last: Secure each braid separately before wrapping it around the bun. That extra anchor helps prevent the crown detail from slipping.
💡 Quick Pro Tip
- Prep your hair before you start pinning. Fine hair often grips better with texturizing spray, while thick hair may need sectioning clips. A secure base makes the bun easier to shape.
4. The Sleek High Knot
Prefer a clean, lifted style that keeps your hair away from your face?
The Formula:
-
Smooth a small amount of styling gel or cream through the roots.
-
Brush your hair upward toward the crown.
-
Secure a firm ponytail with a strong elastic.
-
Twist the ponytail into a rope.
-
Wrap it around the base and tuck the ends underneath.
-
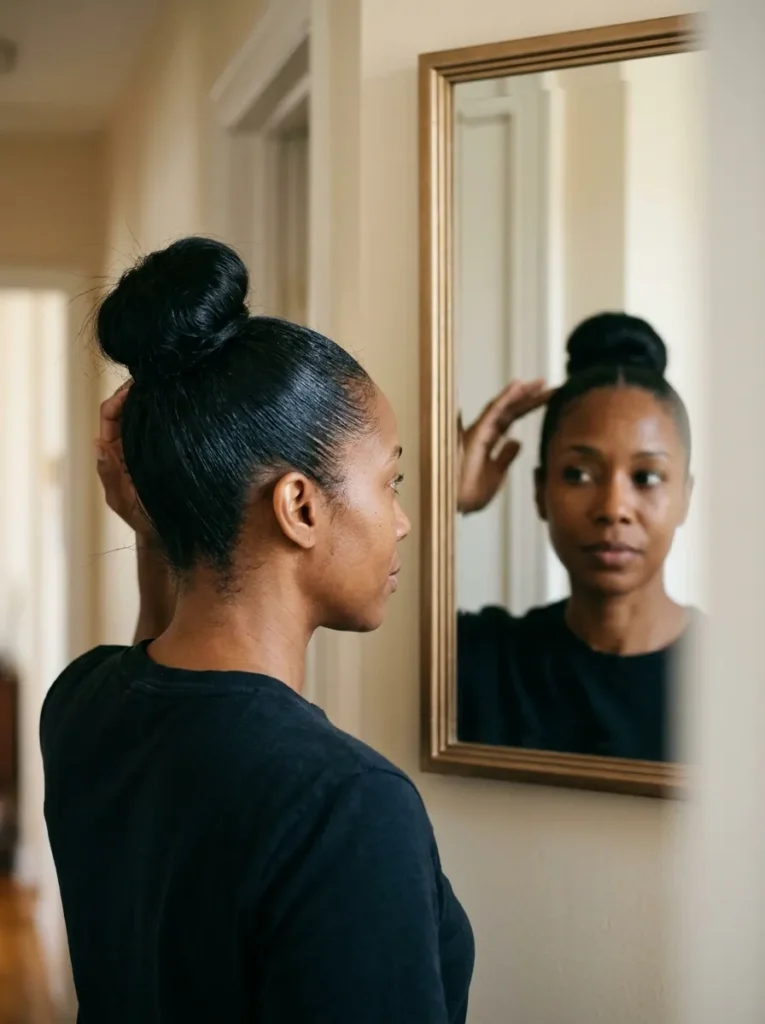
Why It Works: The high position creates a clear, sculpted silhouette. Smooth roots contrast with the rounded knot, giving the style a modern finish. You can make the bun compact or slightly larger, depending on your hair length.
Pro Tip: Check the hairline from the side before adding hairspray. Smooth any bumps with a clean toothbrush or small styling brush.
Best For: Medium to long straight, wavy, or stretched coily hair. It suits busy holiday hosting, dinner, and group photos.
Make It Last: Use a comfortable elastic and avoid pulling the ponytail too tightly. A secure style should not cause scalp discomfort.
[IMAGE — IDEA 4: A sleek high knot with smooth roots and a rounded bun.]
[ALT TEXT: Sleek high knot bun hairstyle for a polished Thanksgiving look.]
5. The French-Twist Bun
Want an elegant updo with a little vintage charm?
The Formula:
-
Brush your hair back and gather it at the nape.
-
Hold the hair vertically against the back of your head.
-
Twist the length upward into a vertical roll.
-
Tuck the ends into the top of the roll.
-
Secure the seam with long bobby pins.
-
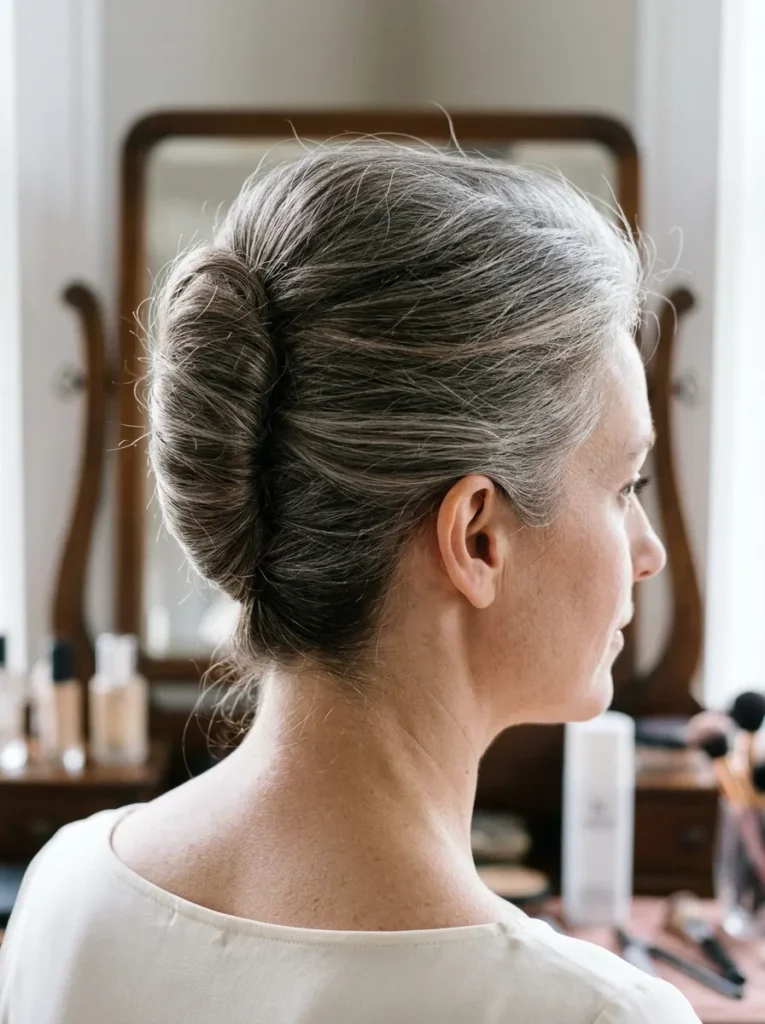
Why It Works: The vertical shape creates a long, graceful line. It looks more intricate than a basic bun, yet the technique uses only a few sections. The finished style keeps the hair neatly gathered for long meals and photographs.
Pro Tip: Practice the twist with a few large clips before using pins. This helps you understand where the seam sits and where the hair needs support.
Best For: Medium to long straight or wavy hair. Curly hair can also work with a little preparation, while natural texture can create a softer finish.
Make It Last: Insert pins along the twist instead of relying on one pin at the top. Finish with flexible-hold hairspray.
⚠️ Common Mistake
- Don’t build the entire bun around one tight elastic. That can create tension and make the style uncomfortable. Secure the base first, then use pins to support the shape. If your scalp hurts, loosen the bun and try again.
6. The Curly Pineapple-Inspired Bun
Want your curls to shine while keeping them gathered for dinner?
The Formula:
-
Start with moisturized, detangled curls.
-
Apply a little leave-in conditioner or curl cream where needed.
-
Gather the curls high on your head without stretching them flat.
-
Use a soft scrunchie to hold the base.
-
Arrange the curls into a rounded, loose bun shape.
-

Why It Works: This style celebrates natural curl pattern and volume. The higher base lets curls create their own shape instead of forcing them into a smooth finish. You can keep the edges natural or add gentle definition with styling gel.
Pro Tip: Use a satin scrunchie to reduce friction. Avoid pulling every curl through the elastic repeatedly, since that can disturb the pattern.
Best For: Curly and coily hair, especially medium to long lengths. It suits relaxed Thanksgiving gatherings and natural-hair-friendly holiday styling.
Make It Last: Sleep with a satin bonnet if you style your hair the night before. Refresh flattened curls with a little water and curl cream.
7. The Double-Twist Low Bun
Want a more detailed bun without learning a complicated updo?
The Formula:
-
Divide your hair into two equal sections.
-
Twist each section away from your face.
-
Bring both twists together at the nape.
-
Cross one twist over the other.
-
Coil the combined lengths into a low bun.
-

Why It Works: The two twists create a woven effect with very little extra effort. The low placement feels understated, while the crossed sections give the bun a distinctive shape. It works beautifully with a center part or a soft side part.
Pro Tip: Keep the first twists loose enough to show their texture. Tight twists can shrink the detail and make the bun look smaller.
Best For: Medium to long straight, wavy, or loosely curly hair. It fits Thanksgiving dinner, a Friendsgiving party, or a family photo session.
Make It Last: Add pins where the twists cross. That point carries much of the bun’s weight and needs a firm hold.
“A little texture and a few well-placed pins can make a simple bun feel special.”
8. The Sock Bun with a Soft Finish
Want a fuller bun even when your hair feels fine or slippery?
The Formula:
-
Gather your hair into a ponytail at your preferred height.
-
Slide a hair donut over the ponytail.
-
Spread the hair evenly around the donut.
-
Wrap the ends underneath the bun.
-
Secure the ends with bobby pins.
-
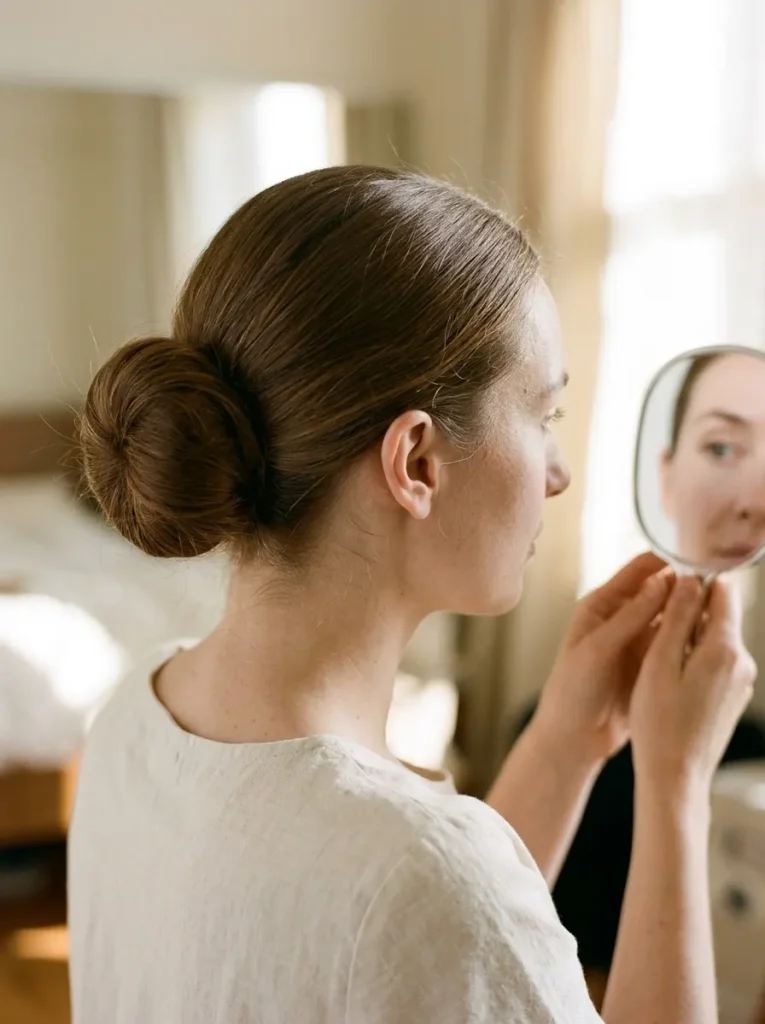
Why It Works: A hair donut gives the bun a rounded shape and creates the look of extra fullness. It can help fine hair form a more defined silhouette. You can keep the finish sleek or soften it with a few loose strands.
Pro Tip: Choose a donut that matches your hair color. Use a smaller donut for fine hair and a larger one only when your length provides enough coverage.
Best For: Medium to long straight or wavy hair. It suits Thanksgiving hosting, dinner, and occasions that call for a neat updo.
Make It Last: Make sure the donut disappears beneath your hair before adding finishing spray. Pin any visible ends rather than piling on extra product.
9. The Side-Swept Romantic Bun
Want a soft, romantic style that feels a little different from the usual center bun?
The Formula:
-
Create a deep side part.
-
Use a curling iron on a few front sections if you want waves.
-
Gather your hair into a low ponytail behind one ear.
-
Twist the ponytail loosely into a bun.
-
Secure the bun with pins that match your hair color.
-
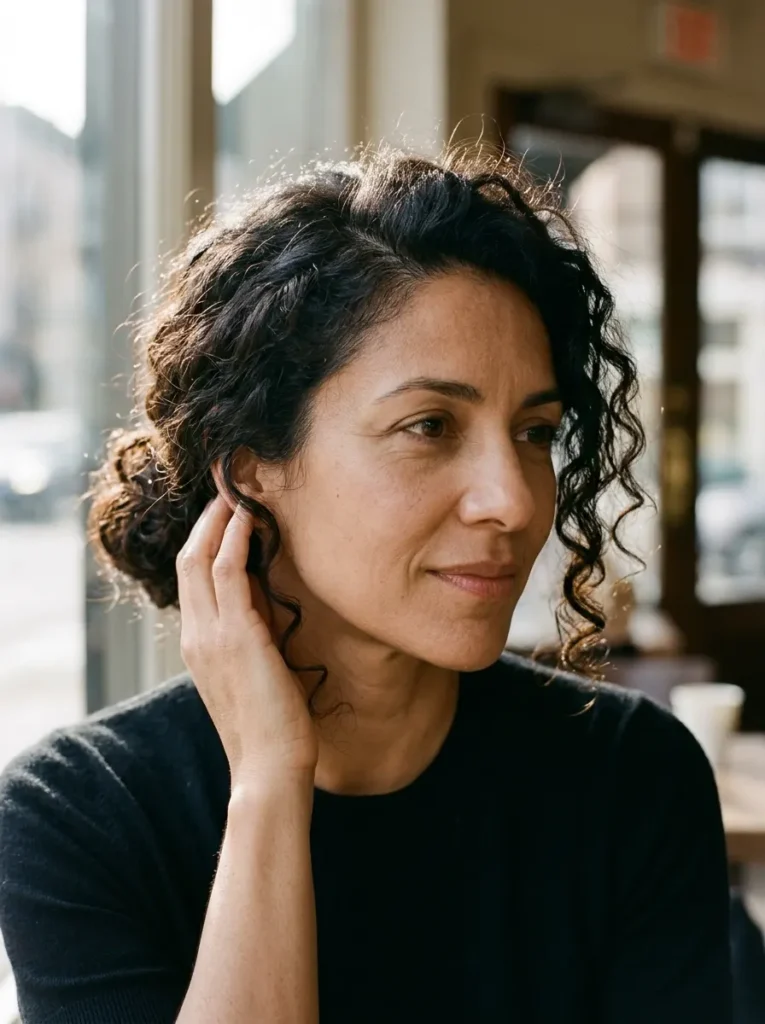
Why It Works: The off-center placement adds movement and creates an asymmetrical shape. Loose front sections soften the outline, while the low bun keeps the hairstyle practical. The style works with natural waves or curls, too.
Pro Tip: Keep the bun slightly behind the ear instead of directly beside it. This placement helps the style look balanced from the front and side.
Best For: Medium to long straight, wavy, or curly hair. It suits Thanksgiving dinner, family photos, and festive gatherings.
Make It Last: Curl the front sections before pinning the bun. Then use a light mist of hairspray to help the shape hold.
🧴 Shortcut
- Short on time? Start with a ponytail, twist the length, and wrap it around the elastic. Add three or four pins, then loosen the bun slightly. A claw clip can also hold the base while you position your pins.
10. The Ribbon-Wrapped Thanksgiving Bun
Want a simple bun with a festive detail that takes seconds to add?
The Formula:
-
Create a low bun using your preferred twisting method.
-
Secure it with pins and a comfortable elastic.
-
Choose a narrow ribbon in burgundy, cream, forest green, or warm gold.
-
Tie the ribbon around the bun’s base.
-
Make a small bow or let the ends fall loosely.
- Trim the ribbon ends neatly if needed.
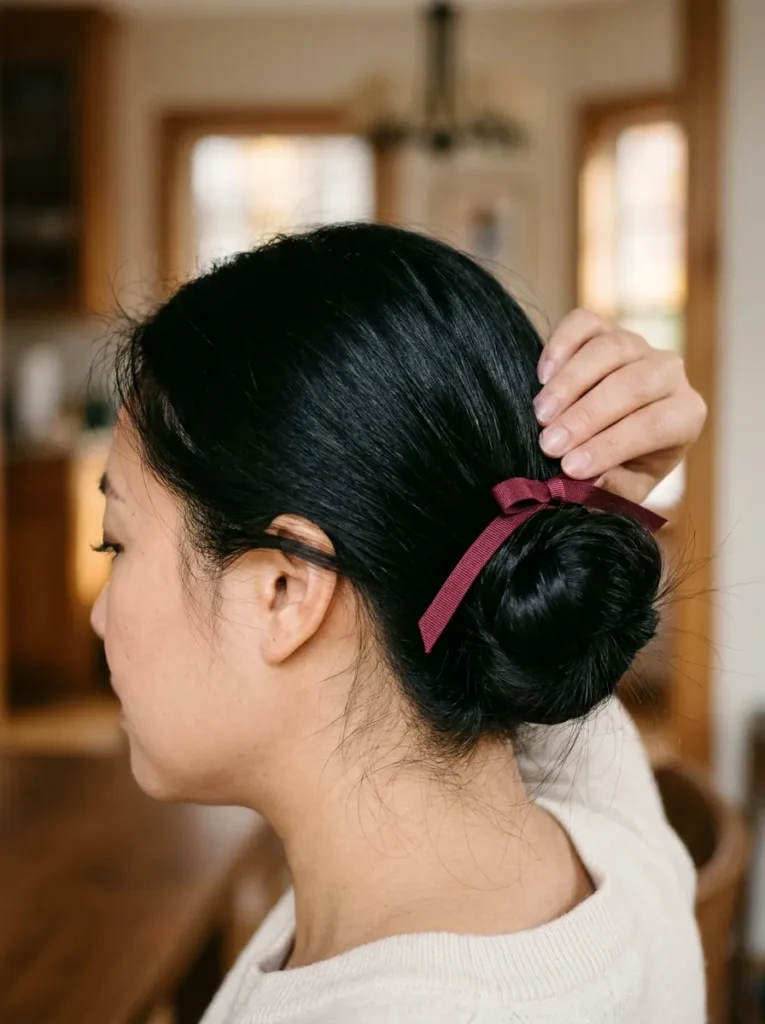
Why It Works: The ribbon adds color and a soft finish without changing the bun’s basic structure. It also gives a simple hairstyle a holiday-ready detail. Choose a subtle shade for a classic look or a rich color for extra contrast.
Pro Tip: Tie the ribbon around the elastic, not around loose hair. This helps keep the decoration in place without pulling individual strands.
Best For: Medium to long straight, wavy, curly, or coily hair that can hold a bun. It suits Thanksgiving dinner, Friendsgiving, and holiday photos.
Make It Last: Use a lightweight ribbon that doesn’t slide easily. Secure its knot with a discreet pin if the fabric feels slippery.
[IMAGE — IDEA 10: A low bun decorated with a narrow burgundy ribbon and soft hair texture.]
[ALT TEXT: Ribbon-wrapped bun hairstyle for a festive Thanksgiving look.]
Frequently Asked Questions
How do you make a tricky bun hairstyle for Thanksgiving?
Start with a secure ponytail, then choose one technique: twisting, braiding, crossing sections, or wrapping hair around a donut. Secure the base before shaping the bun. Use a few pins to hold the design, then finish with flexible-hold hairspray. Practice once before Thanksgiving Day to find your easiest method.
Which Thanksgiving bun hairstyle works best for fine hair?
A sock bun or a lightly textured low chignon can give fine hair a fuller appearance. Use a small hair donut that matches your hair color, or add texturizing spray before styling. Keep the bun proportional to your hair length, and avoid heavy products that flatten the roots.
Can you wear a bun with natural curly or coily hair?
Absolutely. A curly high bun or a loose low bun lets your natural texture remain part of the style. Begin with moisturized hair and use a satin scrunchie or gentle elastic. Secure only the sections that need support, and avoid pulling the hairline too tightly.
How can you make a Thanksgiving bun last all day?
Build a secure base and use pins that match your hair color. Cross pins at the base when you need extra hold. Choose products that suit your texture, such as texturizing spray for fine hair or curl cream for curls. Keep spare pins nearby for small touch-ups.
Should you wash your hair before creating a Thanksgiving bun?
You don’t always need freshly washed hair. Some styles hold better when your hair has a little natural grip. If your roots feel oily, wash and dry your hair before styling. If your hair feels clean and manageable, use a suitable styling product and begin with fully detangled lengths.
Choose Your Thanksgiving Bun
A tricky bun doesn’t need to feel difficult. The right technique can turn a few twists, braids, or pins into a hairstyle that feels thoughtful and festive. Choose a sleek knot for a polished finish, a textured bun for a relaxed gathering, or a ribbon-wrapped style for a seasonal touch. Give yourself a little practice time before the holiday. Keep your tools nearby, work with your natural texture, and choose a hold that feels comfortable all evening. Save this guide to your Thanksgiving hair inspiration board so you can find your favorite when the day gets busy. Which bun will you try first: the braided crown, curly bun, or romantic side-swept style?
[10 Winter Wedding Hairstyles for Every Hair Type ]
[10 Elegant Braided Hairstyles With Gold Accessories ]