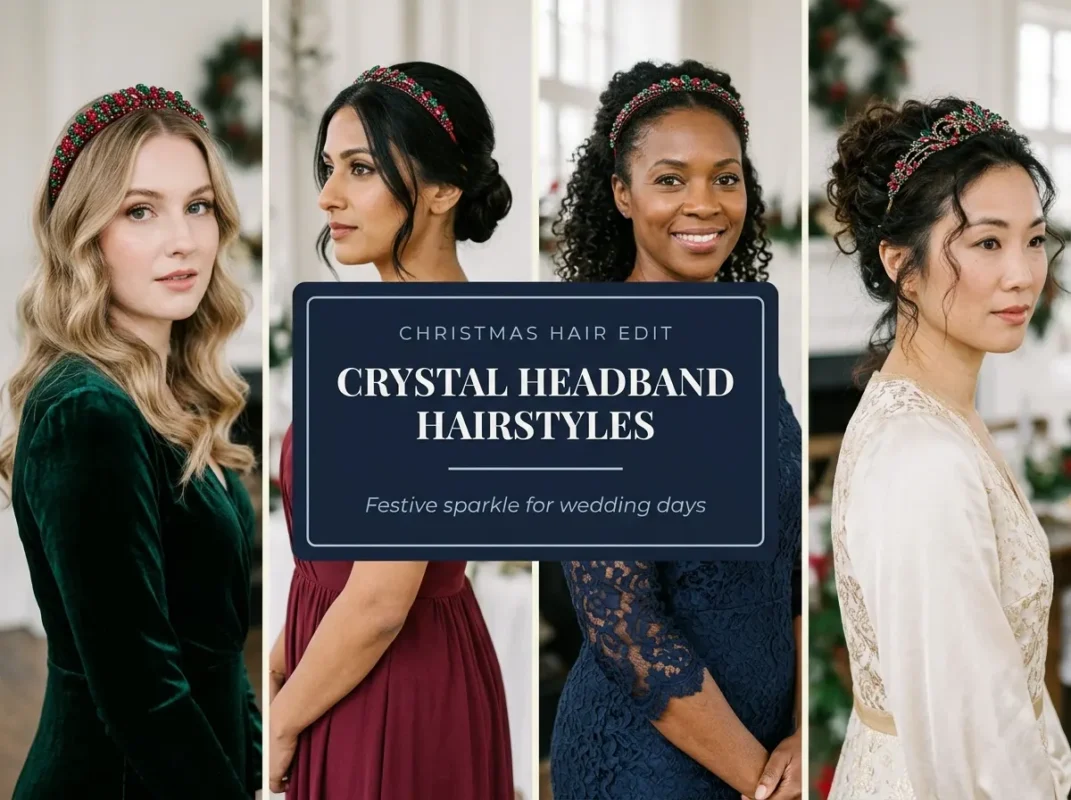
You have a Christmas wedding function coming up, and you want your hairstyle to feel special. A red-and-green crystal headband can add festive sparkle without making your hair feel overdone. The trick is choosing a hairstyle that works with your hair length, texture, and the headband’s shape. These Christmas red and green crystal headband hairstyles for wedding functions offer ideas for straight, wavy, curly, and coily hair. You’ll find elegant updos, soft curls, romantic half-up styles, and simple looks you can create at home. Each style keeps your headband as a key detail without letting it overpower your hair. You don’t need a complicated salon style to look celebration-ready. Sometimes, the right parting and a few well-placed pins make all the difference.
In this article18 sections
What Actually Makes Christmas Crystal Headband Hairstyles Work
A beautiful headband hairstyle starts with a comfortable fit. Your headband should sit securely without pulling your hair or pressing behind your ears. Next, choose a style that complements its crystal details. Sleek hair highlights the accessory, while curls and braids create a softer frame. Balance matters more than complexity. If your headband features large red and green crystals, keep other hair accessories simple. For smaller crystals, you can add texture or volume without crowding the look. Finally, prepare your hair for the style you want. Use heat protectant before curling, lightweight mousse for volume, and flexible hairspray for hold. Natural texture deserves its own styling approach, too.
1. Soft Hollywood Waves With a Crystal Headband
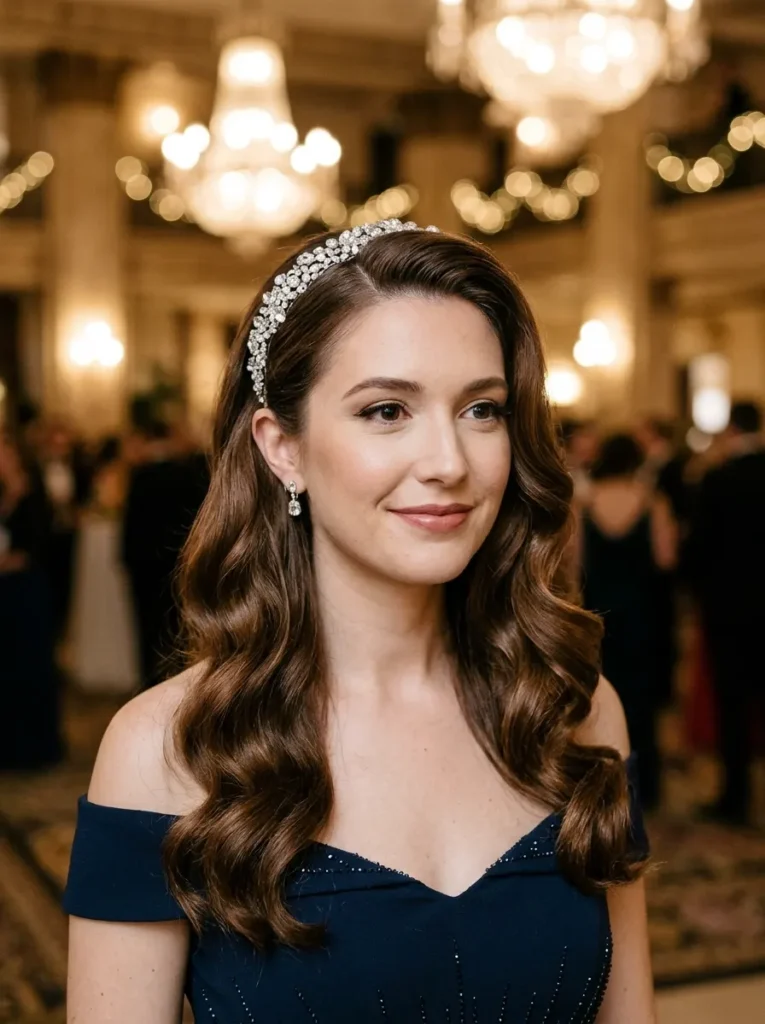
You want glamorous waves that look beautiful in wedding photos and move naturally.
The Formula:
- Create a deep side part or soft side part.
- Apply heat protectant to dry hair.
- Curl sections with a medium-barrel curling iron.
- Brush the curls gently into soft waves.
- Place the red-and-green crystal headband just behind your hairline.
- Finish with flexible-hold hairspray.
Why It Works:
Hollywood waves add movement and a polished finish. The headband brings a festive color accent near your face. This combination suits formal Christmas wedding functions without feeling too stiff.
Pro Tip: Alternate curl directions, then brush the waves together. This creates a softer finish than leaving every curl separate.
Best For: Medium to long straight or wavy hair, especially for evening wedding receptions.
Make It Last: Let each curl cool completely before brushing. Carry a few bobby pins for quick touch-ups.
2. A Low Sleek Bun With Festive Sparkle
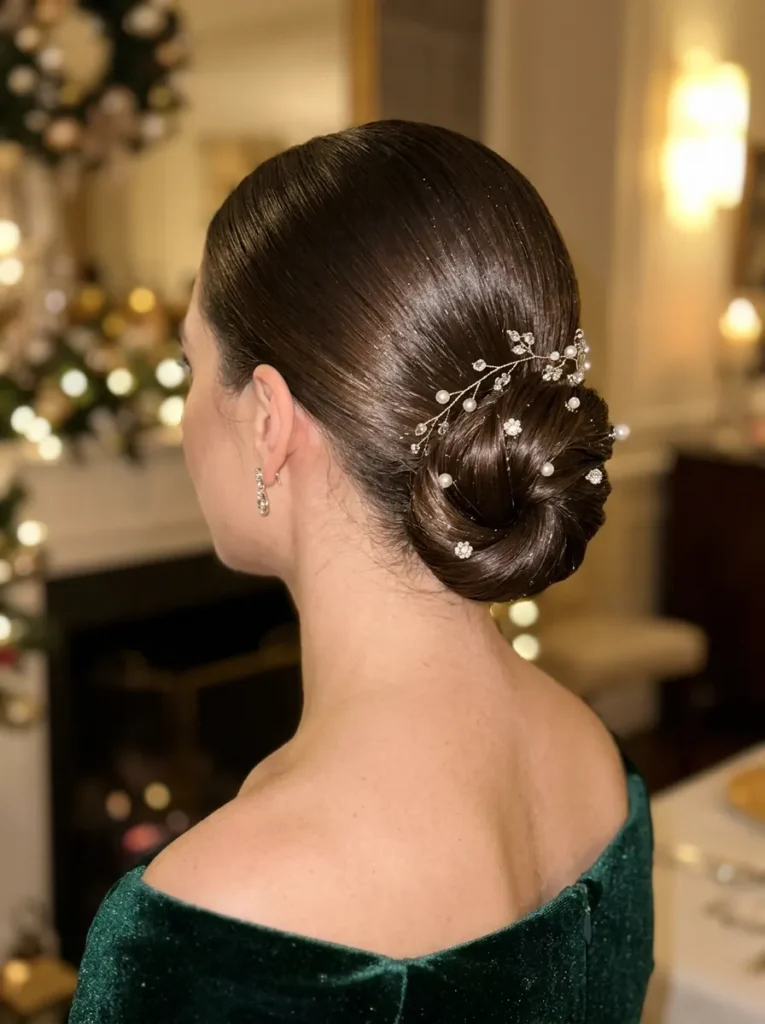
You want a tidy, elegant hairstyle that keeps every crystal visible.
The Formula:
- Create a center part or clean side part.
- Smooth the roots with a small amount of styling cream.
- Gather your hair into a low ponytail.
- Twist the ponytail into a compact bun.
- Secure the bun with bobby pins.
- Add the crystal headband and finish with light hairspray.
Why It Works:
A sleek bun gives the headband a clear place to shine. It also keeps hair away from your neck and face. The clean shape pairs well with delicate crystal details.
Pro Tip: Use a soft toothbrush and a little styling gel to smooth small flyaways. Avoid adding too much product near your roots.
Best For: Medium to long straight, wavy, or relaxed-texture hair. This style suits formal ceremonies and evening receptions.
Make It Last: Insert crossed bobby pins around the bun. They hold better than single pins placed in the same direction.
3. Romantic Half-Up Curls With Red and Green Crystals
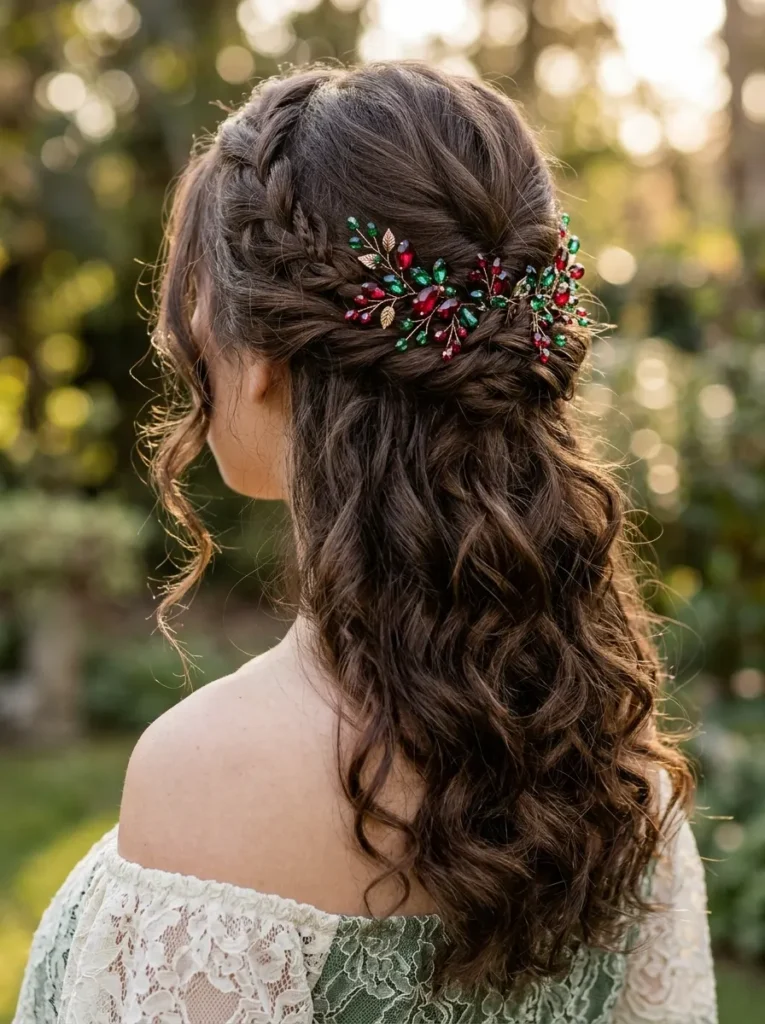
You love wearing your hair down but want a little more shape around your face.
The Formula:
- Add heat protectant before styling.
- Create loose curls through the mid-lengths and ends.
- Take small sections from both sides of your face.
- Pin them together at the back of your head.
- Place the crystal headband above the pinned sections.
- Gently loosen the curls with your fingers.
Why It Works:
This style combines the softness of loose hair with the structure of an updo. The half-up shape keeps the front sections away from your face. The crystals add a seasonal touch without taking over the hairstyle.
Pro Tip: Leave two fine face-framing pieces loose if you prefer a softer outline. Keep them light so they don’t cover the headband.
Best For: Medium to long hair with straight, wavy, or curly texture.
Make It Last: Use small, color-matched pins to secure the half-up section. Check the headband after dancing or greeting guests.
💡Quick Pro Tip: Put your headband on after you finish styling your hair. This helps you find its best position without disturbing the curls or bun.
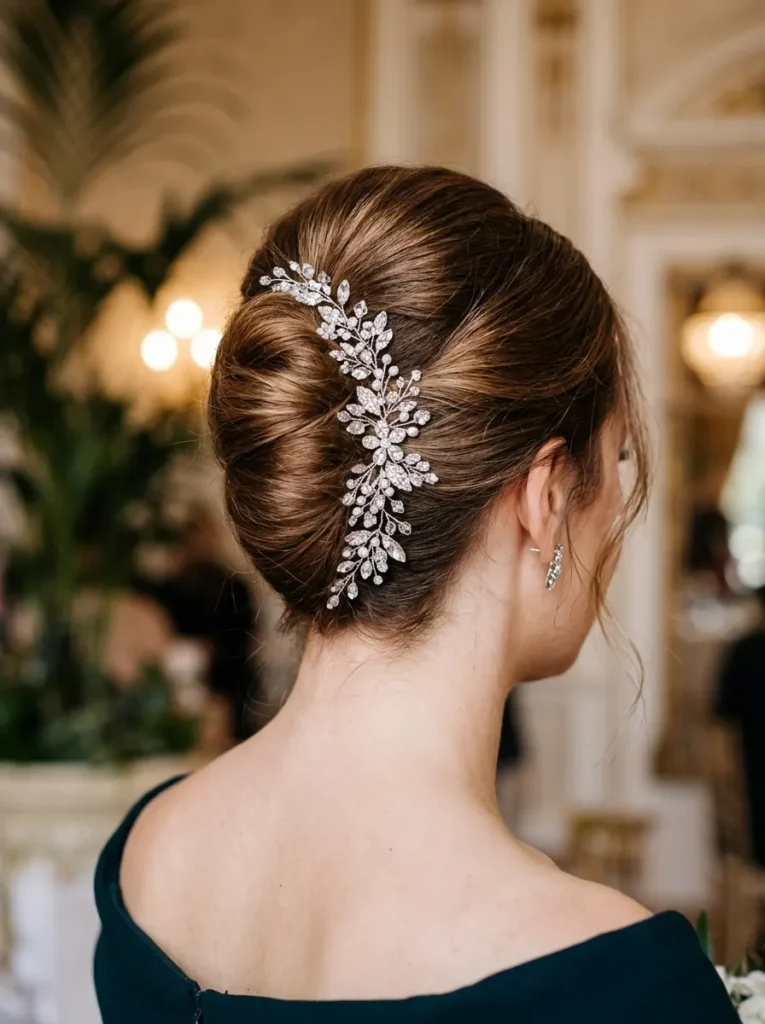
4. A Classic French Twist With Crystal Detail
You want a timeless updo that looks graceful from every angle.
The Formula:
- Add texturizing spray if your hair feels slippery.
- Sweep your hair toward the back of your head.
- Twist the length upward into a French twist.
- Secure the twist with long bobby pins.
- Tuck the ends neatly into the twist.
- Place the headband near the front of your crown.
Why It Works:
The French twist creates a long, clean shape at the back. Its simple lines balance the color and shine of the crystals. It also leaves your neckline open and keeps your hair neatly arranged.
Pro Tip: Create a little texture before twisting if you have fine hair. A light mist of texturizing spray can help the pins grip.
Best For: Medium to long straight or wavy hair. It suits formal Christmas wedding ceremonies and elegant indoor receptions.
Make It Last: Use long pins that match your hair color. Add a light layer of hairspray after you secure the twist.
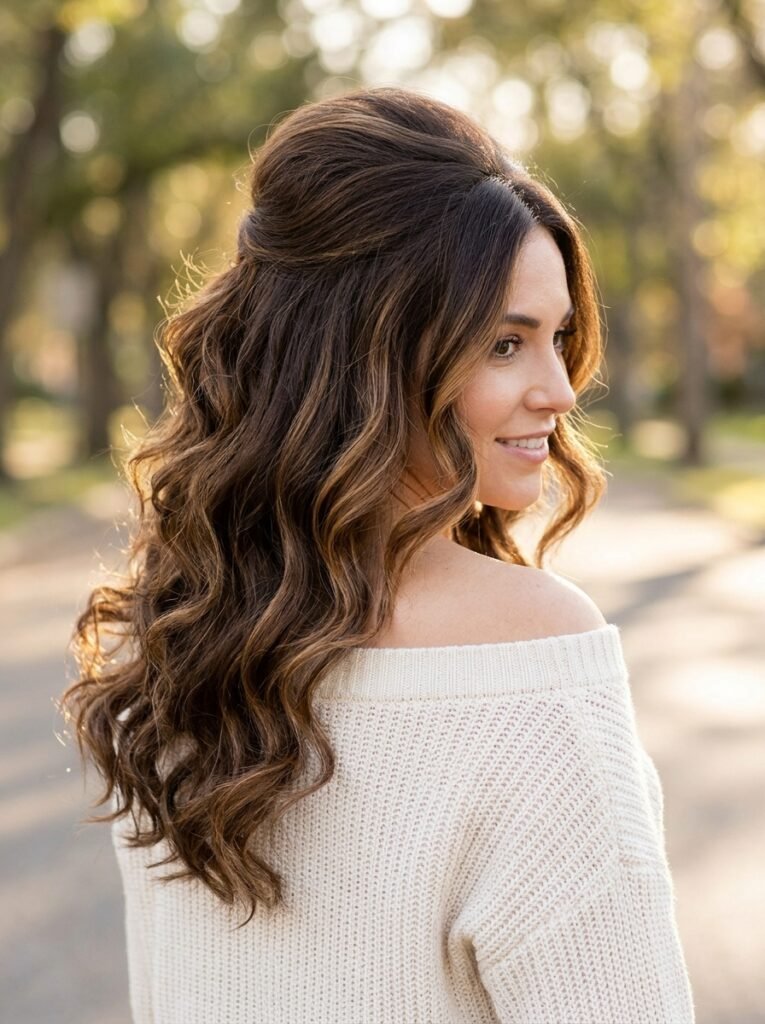
5. Voluminous Crown With Loose Curls
You want a fuller hairstyle that feels festive without looking too formal.
The Formula:
- Apply volumizing mousse to damp roots.
- Blow-dry with a round brush or diffuser, depending on your texture.
- Create loose curls through the lengths if desired.
- Gently lift the crown with your fingers.
- Position the headband just behind the hairline.
- Finish with flexible hairspray.
Why It Works:
Crown volume gives the headband a natural frame. Loose curls add movement and soften the overall shape. This style works especially well when you want a glamorous look without a tight updo.
Pro Tip: Tease only a small section beneath the crown if you need extra lift. Smooth the top layer over it for a natural finish.
Best For: Medium to long hair, including fine hair that benefits from added volume.
Make It Last: Let your hair cool before placing the headband. Avoid heavy oils near the roots because they can flatten the crown.
⚠️ Common Mistake: Placing the headband too far forward can flatten the front of your hairstyle. Position it slightly behind the hairline, then adjust it until the crystals sit comfortably and remain visible.
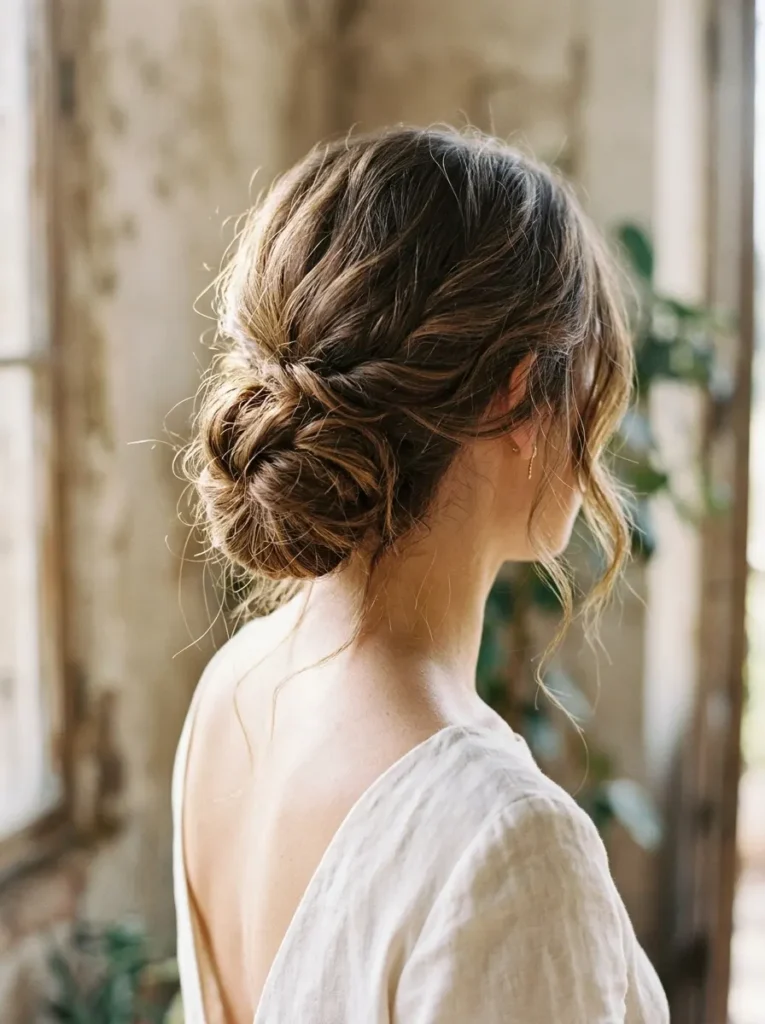
6. A Textured Low Chignon for Natural Elegance
You want a soft, refined updo that keeps your natural texture part of the look.
The Formula:
- Prepare your hair with a product suited to its texture.
- Create a low ponytail at the nape.
- Divide the length into two or three sections.
- Wrap or pin the sections into a soft chignon.
- Leave a little natural texture around the crown.
- Add the red-and-green crystal headband.
Why It Works:
A textured chignon creates an elegant shape without requiring every strand to lie flat. It can work beautifully with waves, curls, and stretched natural hair. The headband adds a festive focal point.
Pro Tip: For coily hair, start with your preferred stretched or defined texture. Use satin-friendly styling practices and avoid brushing out curls you want to keep defined.
Best For: Medium to long hair with natural waves, curls, coils, or added texture.
Make It Last: Secure the chignon with sturdy pins that suit your hair density. Use a small amount of edge product only where you want extra definition.
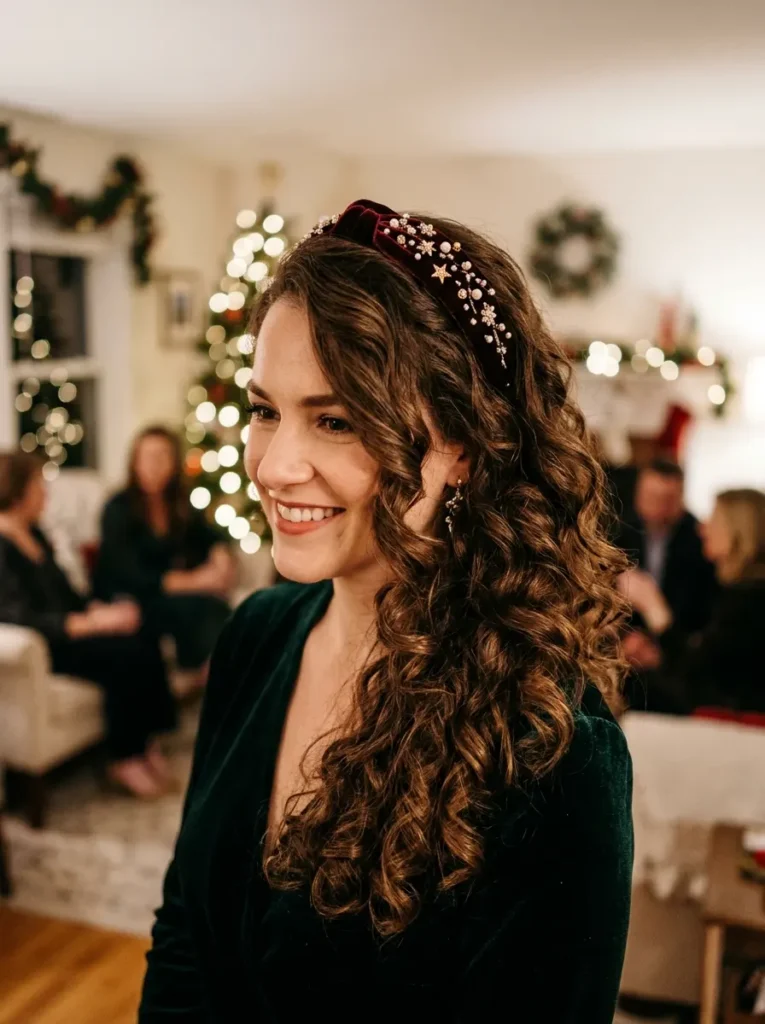
7. Side-Swept Curls With a Festive Headband
You want a romantic style that puts your curls on display.
The Formula:
- Create a deep side part.
- Curl or define the hair according to your natural texture.
- Sweep most of the hair over one shoulder.
- Secure the smaller side discreetly behind your ear.
- Place the crystal headband along the top of your head.
- Finish with a flexible styling product.
Why It Works:
The side part creates an elegant diagonal line. Sweeping the hair to one side highlights the curls and gives the headband a clear setting. The result feels romantic without requiring a complex updo.
Pro Tip: If you have natural curls, use a diffuser on low heat or let your hair air-dry before arranging the style. Avoid excessive brushing, which can disrupt curl definition.
Best For: Medium to long curly, wavy, or curled hair. It suits wedding dinners and festive evening receptions.
Make It Last: Use a discreet pin behind the ear to help hold the swept section. Keep a small amount of your usual curl product nearby for touch-ups.
“Your favorite texture, styled with care, can make a festive accessory feel completely your own.”
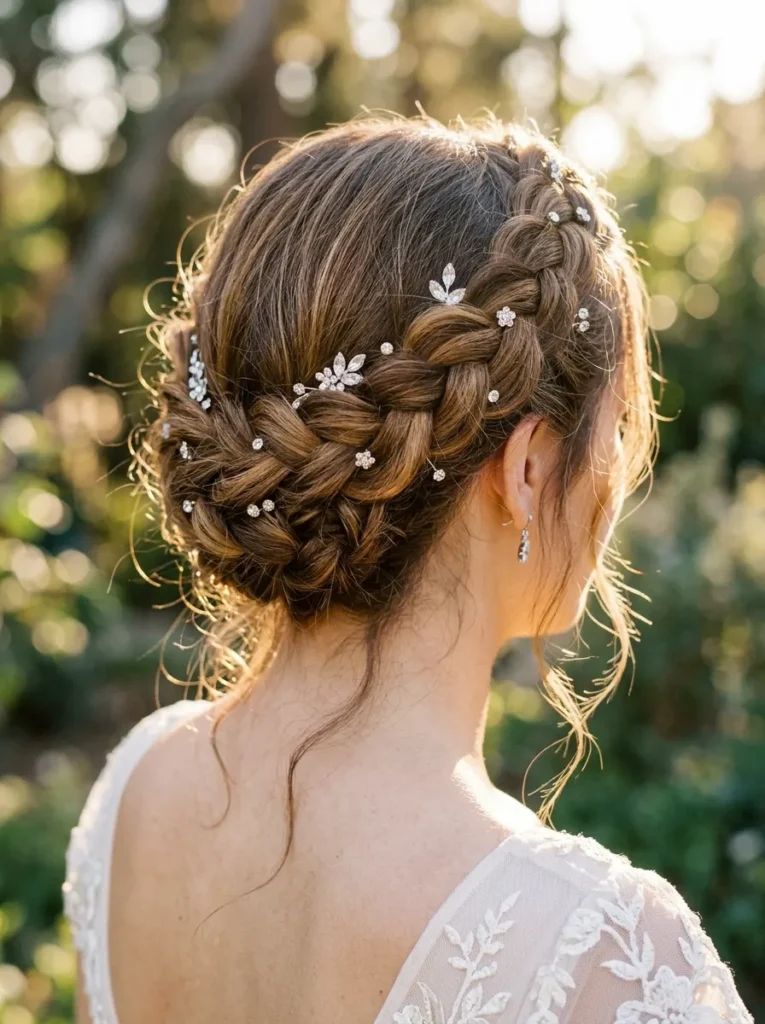
8. A Braided Crown With Crystal Accents
You want a romantic hairstyle with extra detail around the headband.
The Formula:
- Part your hair down the center or slightly to one side.
- Create a braid from each temple toward the back.
- Secure the braids with small elastics.
- Cross or join them at the back of your crown.
- Place the headband in front of the braided section.
- Loosen the braid edges gently for added softness.
Why It Works:
Braids create texture and help frame the face. The headband adds sparkle without competing with the braided pattern. This look offers a romantic option for a Christmas wedding function.
Pro Tip: Keep the braids loose enough to feel comfortable. For thick or coily hair, create wider sections and use pins designed to hold your hair securely.
Best For: Medium to long straight, wavy, curly, or coily hair that can hold a braid.
Make It Last: Secure each braid with pins before adding the headband. Finish with a light mist of hairspray if your hair responds well to it.
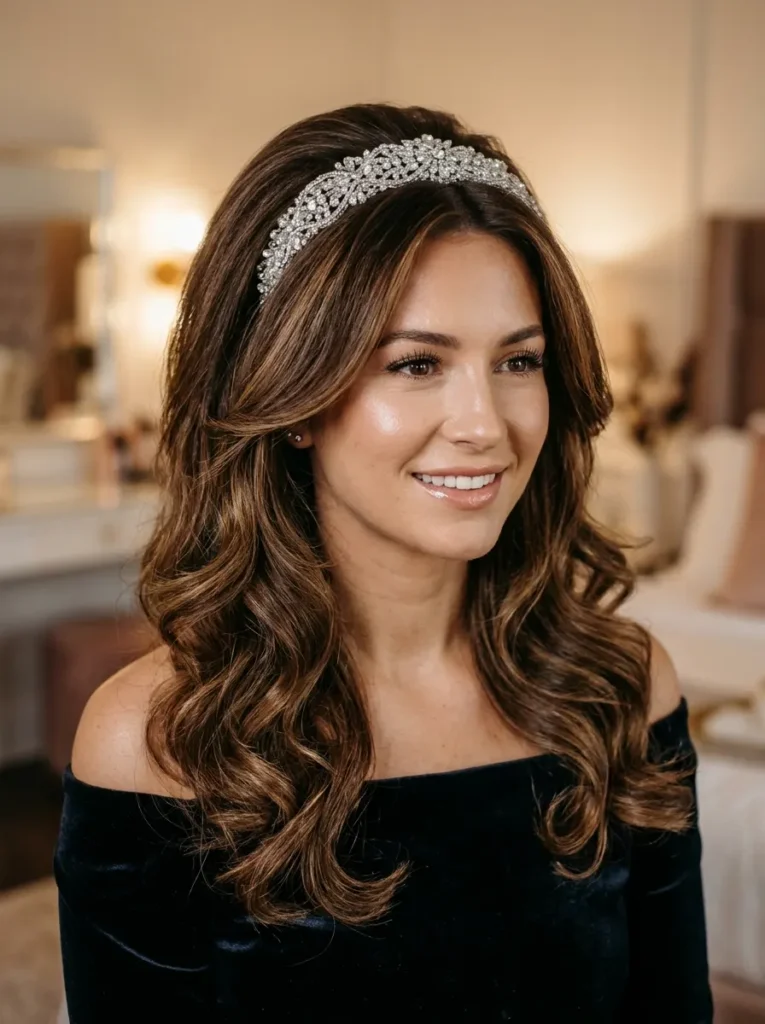
9. A Bouncy Blowout With a Crystal Headband
You want soft movement and polished volume without a formal updo.
The Formula:
- Apply heat protectant to damp hair.
- Add a small amount of volumizing mousse.
- Blow-dry in sections with a round brush.
- Direct the front sections away from your face.
- Add loose bends to the ends if desired.
- Finish with the crystal headband and flexible hairspray.
Why It Works:
A bouncy blowout adds movement around your face. The headband gives the hairstyle a festive detail while keeping the finish relaxed. This option works well when you prefer wearing your hair down.
Pro Tip: Choose a brush size that suits your hair length. A large round brush creates broad movement, while a smaller brush gives shorter sections more bend.
Best For: Medium to long straight or wavy hair. It suits daytime ceremonies and evening Christmas receptions.
Make It Last: Let each section cool before brushing it out. Use a light finishing spray instead of heavy products that may weigh down your roots.
[
🧴 Shortcut: Short on time? Refresh your roots, smooth the front sections, and add a few loose curls. Place your crystal headband slightly behind the hairline for a polished finish.
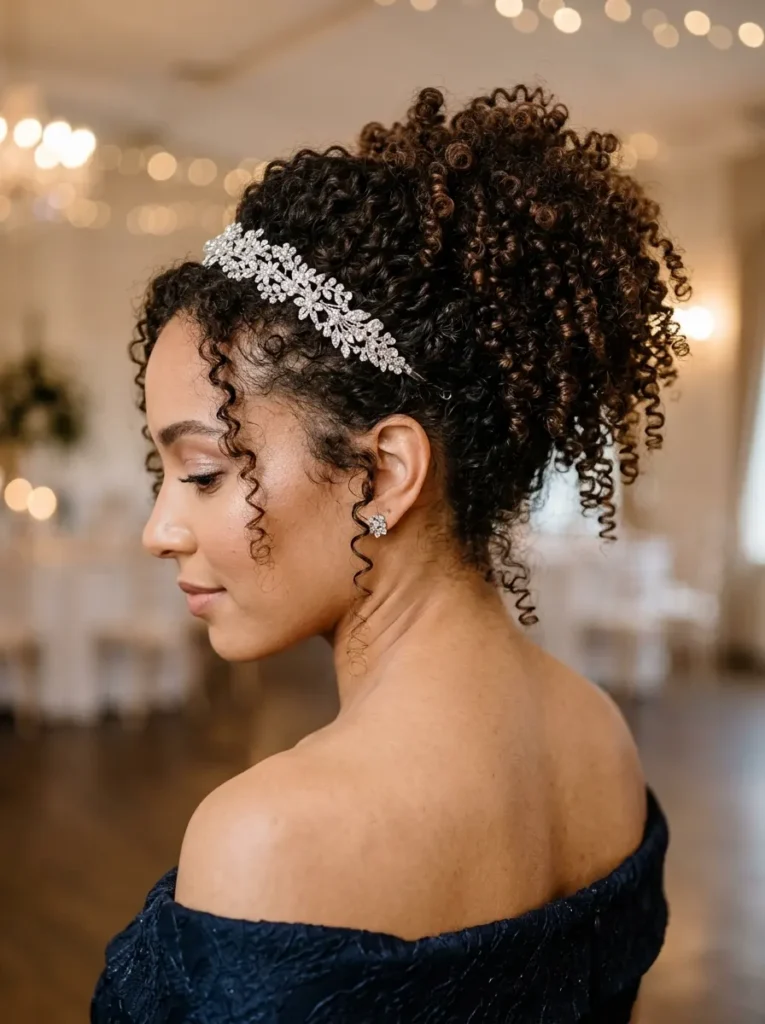
10. A Defined Curly Updo With a Sparkling Headband
You want to show off your curls while keeping your hair comfortably arranged.
The Formula:
- Start with dry, defined curls or coils.
- Apply a small amount of your preferred styling cream.
- Gather the hair loosely toward the crown or back.
- Secure sections with hair-friendly pins.
- Keep selected curls visible around the front or crown.
- Place the crystal headband where it feels secure.
Why It Works:
A curly updo celebrates natural volume and texture. The headband adds a festive point of shine. You can keep the silhouette soft or create a more sculpted shape, depending on your preference.
Pro Tip: Avoid pulling every section tightly. Leave enough room for your curls to keep their shape and for your scalp to feel comfortable.
Best For: Naturally curly or coily hair, especially medium to long lengths. It suits formal Christmas wedding celebrations.
Make It Last: Use pins that grip without snagging your curls. Protect the style at night with a satin scarf if you need to prepare ahead.
Frequently Asked Questions
How do you wear a red and green crystal headband to a wedding?
Choose a hairstyle that gives the headband enough space to stand out. Soft waves, a low bun, a French twist, or a half-up style all work well. Position the band comfortably behind your hairline. Keep other hair accessories simple when the crystals already provide plenty of sparkle.
Which Christmas headband hairstyle works best for short hair?
Short hair can look beautiful with a crystal headband. Try a smooth bob, softly curled bob, textured pixie, or side-parted crop. Add a little root lift or texture if you like. Choose a lightweight headband that sits securely without slipping or pressing behind your ears.
Can I wear a crystal headband with naturally curly hair?
Absolutely. A crystal headband can complement defined curls, a curly half-up style, or a textured updo. Apply your usual curl cream or gel, then allow your curls to dry before adding the accessory. Choose a band that fits comfortably and doesn’t flatten your preferred curl pattern.
How do I stop a headband from slipping during a wedding?
Start with a headband that fits your head comfortably. Add discreet bobby pins near the temples if the design allows them. You can also create a little texture at the roots with a suitable styling product. Test the hairstyle at home before the event so you can adjust the fit.
Should I curl my hair before or after putting on the headband?
Style your hair first, then place the headband. This approach makes it easier to position the accessory without disturbing your curls. Once the band sits comfortably, adjust a few strands around it. Finish with flexible hairspray if you need extra hold, but avoid spraying directly onto delicate crystals.
Choose the Hairstyle That Feels Like You
Your Christmas wedding hairstyle should feel festive, comfortable, and true to your personal style. A red-and-green crystal headband can work with polished waves, a classic bun, a romantic braid, or your natural curls. Start with the hairstyle you already love, then use the headband to add seasonal sparkle. Try your chosen look before the function. Check the fit, test the pins, and make sure you can move comfortably. Save this guide to Pinterest so you can revisit your favorite ideas when styling day arrives.
Which look would you wear to your Christmas wedding function: soft Hollywood waves, a sleek bun, or a curly updo?